Record audio and video from any web-based meeting (Zoom, Google Meet, Microsoft Teams, WebEx, etc.) using the Meeting Recording browser extension.
Recording is done by a Chrome extension – install it from the Chrome Web Store to get started.
How to record
Open your meeting
Go to your meeting in the browser (Zoom, Meet, Teams, or any web meeting).
Start recording
Click the Meeting Recording icon in your browser toolbar:![]()
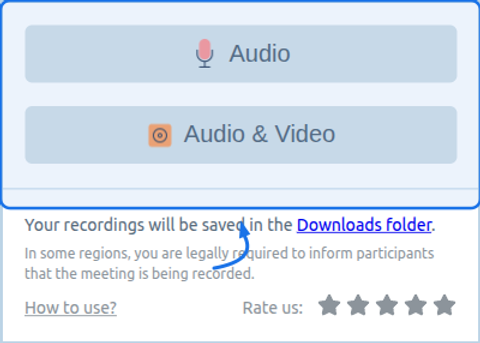
Choose how to record:
- Audio – smaller files; captures meeting sound only.
- Audio & Video – includes the meeting video and any screen share. A recording tab stays open while you record.
Stop and save from the toolbar
When done, click Stop in the extension popup. The file is saved to your Downloads folder.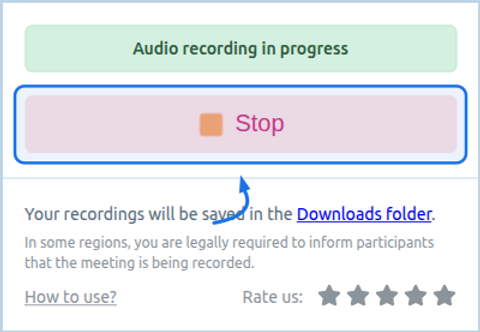
Or stop from the meeting page
While recording, the pill shows your status and a Stop button – a handy shortcut without leaving the meeting.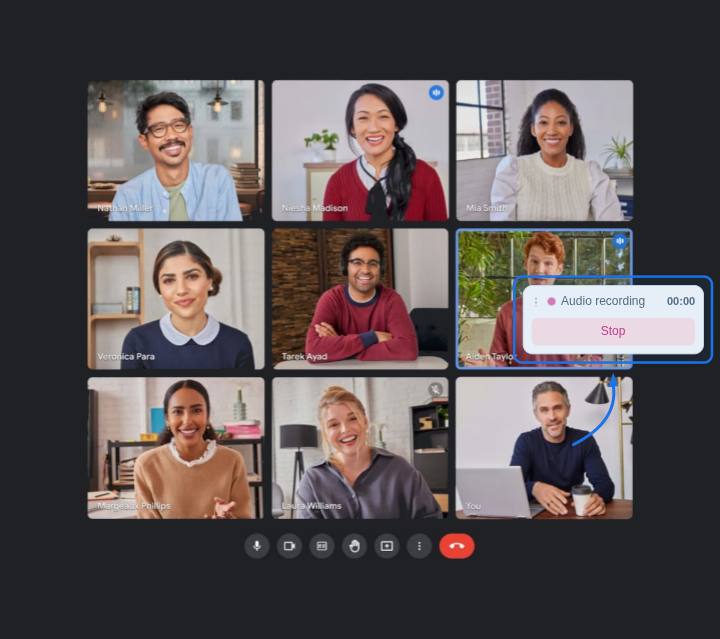
Tips
- Recording works only on normal web pages (HTTP/HTTPS). It is not available on browser internal pages (e.g. Settings).
- For video recording, keep the recording tab open and avoid closing it until you stop.
- Ensure you have consent to record where required by law or policy.
Troubleshooting
“Recording is not available on this page” – Make sure you are on a normal website (e.g. the meeting URL). Open the meeting in a regular tab and try again.
No sound or only one side – Grant microphone permission when the extension asks. Tab and microphone are mixed automatically.
Recording does not start – Refresh the meeting page and start the meeting (e.g. join the call), then start recording again.